
Give your NES an Audio Upgrade
January 2, 2014I learned a little while ago from a friend of mine that the North American version of the NES is somewhat crippled in the audio department, when compared against its Japanese counterpart. The NES hardware supports five channel audio and the hardware did not permit companies to add additional sound channels. The reasons for doing are unclear but is most likely attributed to the limitations placed on North American developers in an effort to regulate the quality of the NES games being produced; in Japan, for example, the game companies were not limited to simple hardware mappers, they were allowed to add additional hardware into their NES cartridge designs. One example of this is the VRC6 chip created by Konami and used in the Japanese version of Castlevania III: Dracula’s Curse.
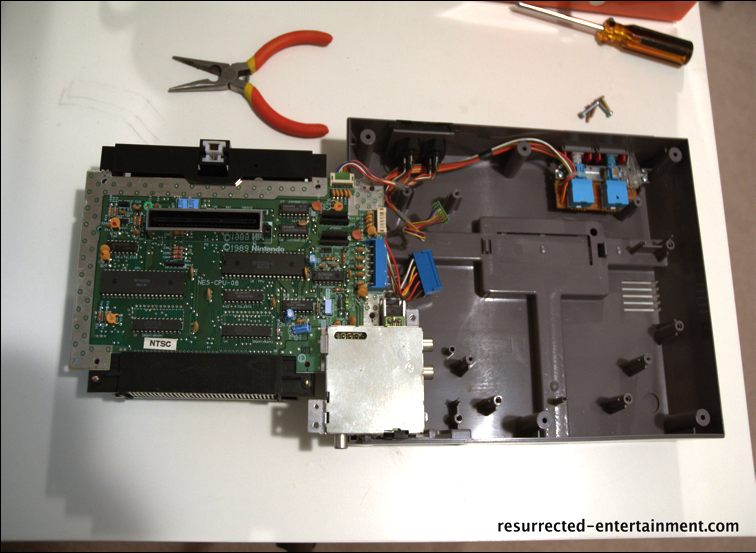
If you are using the PowerPak, then you can perform a simple hardware mod which allows you to tap these additional music channels. Most of the work is simply removing the casing, hardware shielding, and cartridge harness. The last step is to solder a 47-ohm resistor to pins 3 and 9 on the underside of the board. I wanted to assemble a more complete walkthrough than what can be found on the Internet for those who are not use to doing this sort of thing.
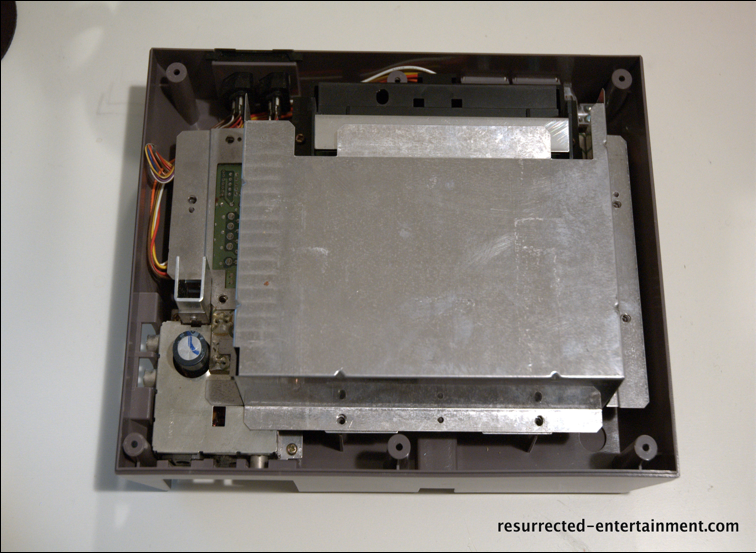
First, you see the interference shield.
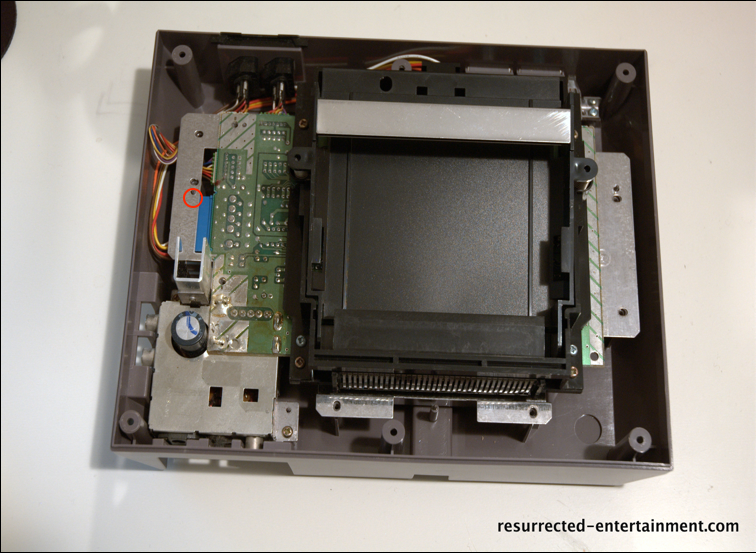
Remove it, and then remove the screws securing it to the base.
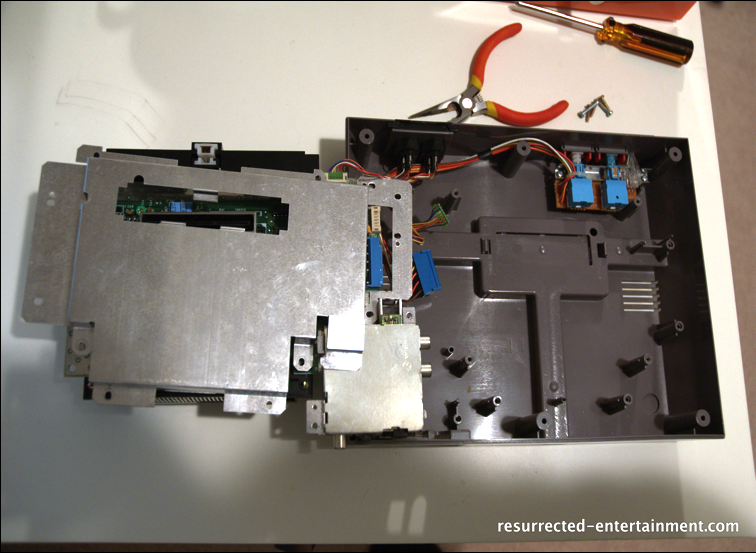
Flip the assembly over so that the expansion connector is face-up. You will see two cables which need to be detached to remove the second interference shield. Be gentle when removing the cables and don’t pull the connectors out by the wires; the large plug pulled out easily by simply using my fingers, the smaller cable looks like the connector is snapped into place, but it’s simply a friction mount and can be removed with needle nose pliers by gently pulling and rocking the connector.
Once the shield if removed, you will see the main board and all of its components; stop and admire the beauty of this machine and smell the history. Ahhh. Now, flip the board back over and remove the last two screws for the cartridge harness. The harness slides under the cartridge slot and should be gently removed as components on the other side of the board may be damaged by your fingers if you are not careful.
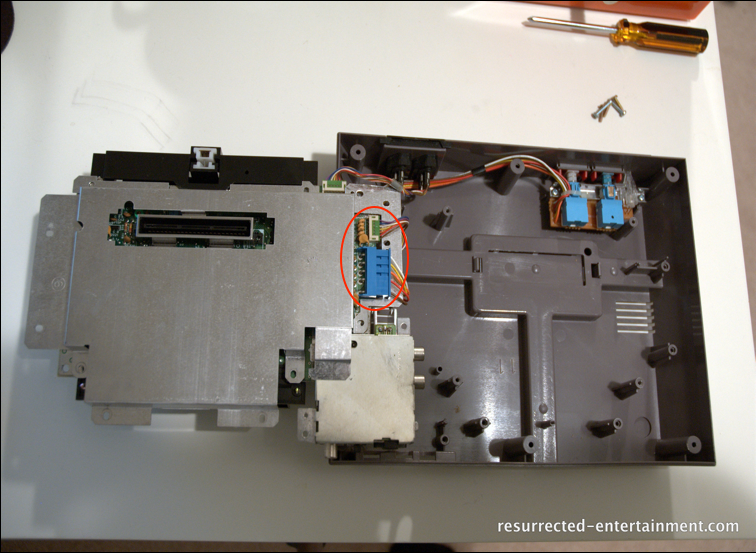
Reorient the board as shown and locate the connector pins.
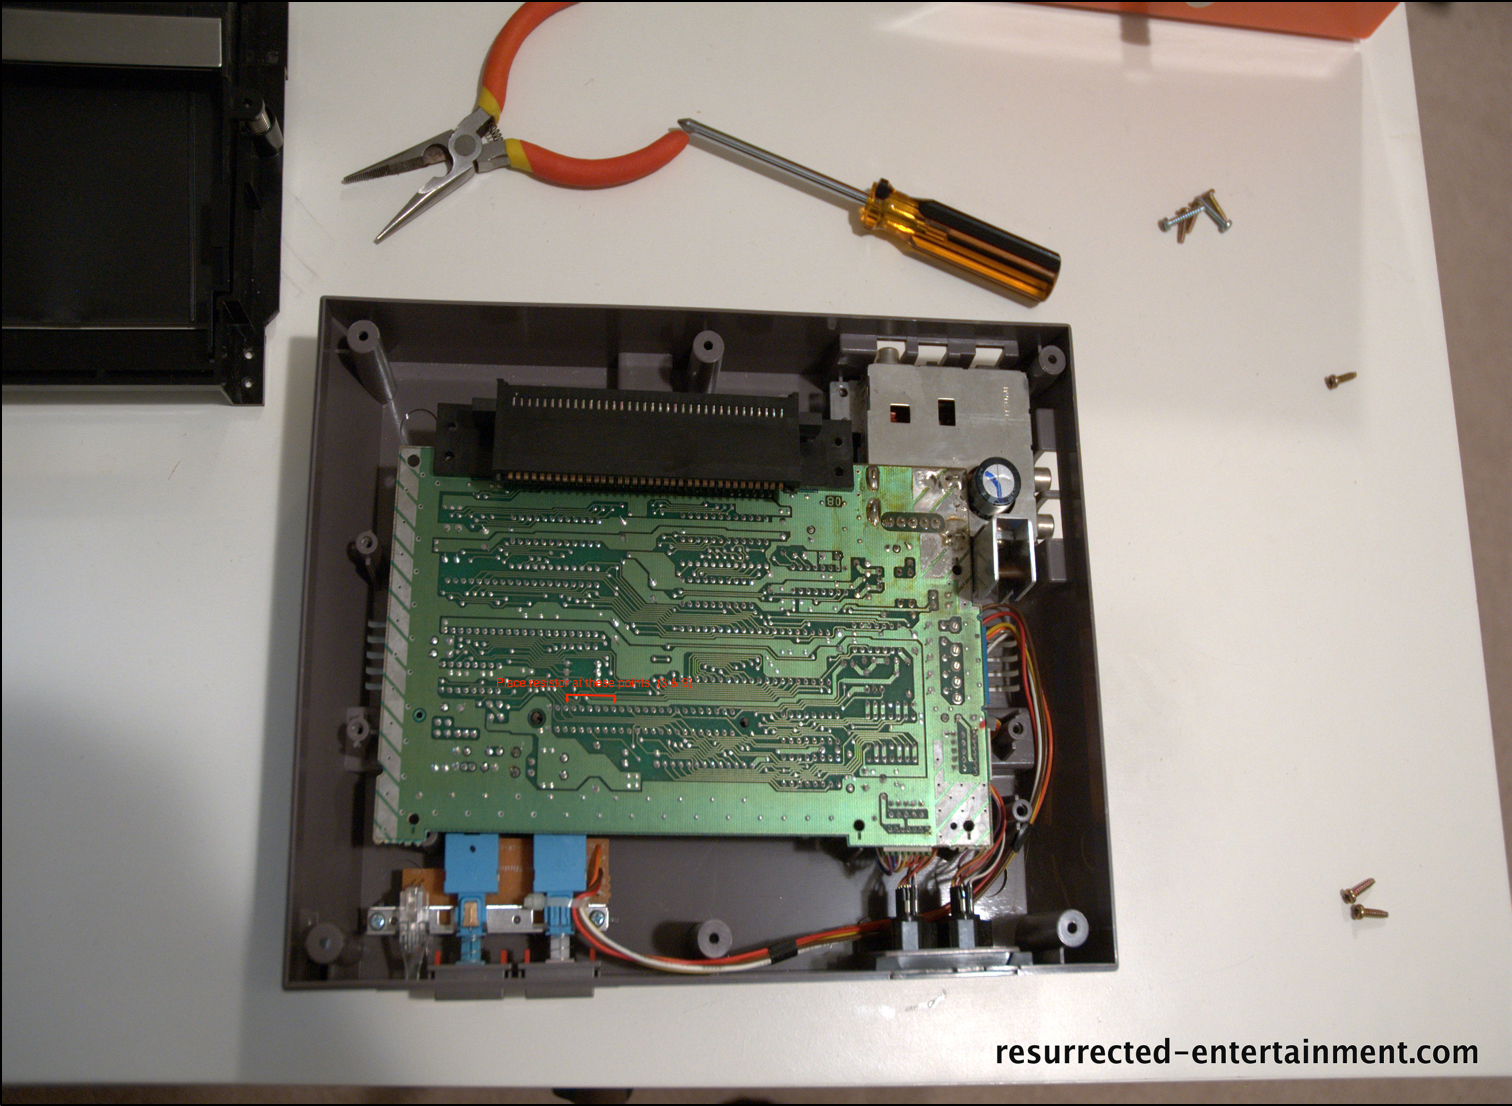
Carefully solder the 47-ohm resistor to pins 3 and 9 of the expansion bus, reassemble and you’re done.


No Responses to “Give your NES an Audio Upgrade”
Care to comment?