
Archive for the 'NES' category
Happy birthday to the Legend of Zelda development team!
August 22, 2021Battletoads: Terra Tubes!
July 15, 2015Zelda Mural: The Adventure!
May 10, 2015I have recently finished a small Ode-to-Zelda techno-art project that involved some readily available construction materials like plastic moulding, foam board, and 3/16″ MDF board, as well as some less common parts like custom circuits, Pixel Blocks, and laser cut acrylic pieces. In the end, it took around 4 months to complete the project, but someone else who has access to more free time could complete it much sooner, and by not ordering parts from China on eBay (it usually took 4-5 weeks to arrive). It was very enjoyable and a good learning experience even though the result is not something I would want to sell, due to the lack of polish. Here is a photo of the scene in the game and the finished project:
-
- Legend of Zelda
-

- Zelda Mural
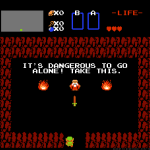
It’s a representation of the first cave you come across in Nintendo’s pilot Legend of Zelda game. The scene illuminates with the flick of a switch on the left side of the frame. There is a flickering fire effect which is implemented via a couple of small circuits (5V) that are each driven by an Atmel ATTiny13-20PU 8-bit microcontroller and a series of low-power LED strips (12V). Since I wanted to drive the circuit with only one power supply, the project needed a small power regulation circuit to drive both loads.
Programming the flickering fire effect using the Atmel microcontroller can be tricky because it lacks a floating point unit and only has 1 KB of program space. This means that you can’t use decimal calculations lest the compiler pull in routines for floating point emulation, which result in a program too large to fit in the microcontroller. The solution was to employ a fancy sounding algorithm called a Linear Congruential Generator, which essentially provides the required randomness via a calculation that makes clever use of prime numbers. Early computers used this technique to achieve pseudo-random number generation at low computational cost.
The borders of the frame were printed using the graphics tiles copied from the game; the panels were sealed with rubberized paint spray and raised in a 3D effect using foam board, which itself has been painted and sealed for added strength and a semi-gloss, darker look. The letters have been laser cut from white acrylic using the font from the game; just a warning if you laser cut acrylic, it generates a nasty smell that is more than likely toxic, so get those laser cut pieces out in the open as soon as possible. I found the smell to dissipate after a few hours in the garage.
Give your NES an Audio Upgrade
January 2, 2014I learned a little while ago from a friend of mine that the North American version of the NES is somewhat crippled in the audio department, when compared against its Japanese counterpart. The NES hardware supports five channel audio and the hardware did not permit companies to add additional sound channels. The reasons for doing are unclear but is most likely attributed to the limitations placed on North American developers in an effort to regulate the quality of the NES games being produced; in Japan, for example, the game companies were not limited to simple hardware mappers, they were allowed to add additional hardware into their NES cartridge designs. One example of this is the VRC6 chip created by Konami and used in the Japanese version of Castlevania III: Dracula’s Curse.
If you are using the PowerPak, then you can perform a simple hardware mod which allows you to tap these additional music channels. Most of the work is simply removing the casing, hardware shielding, and cartridge harness. The last step is to solder a 47-ohm resistor to pins 3 and 9 on the underside of the board. I wanted to assemble a more complete walkthrough than what can be found on the Internet for those who are not use to doing this sort of thing.
First, you see the interference shield.
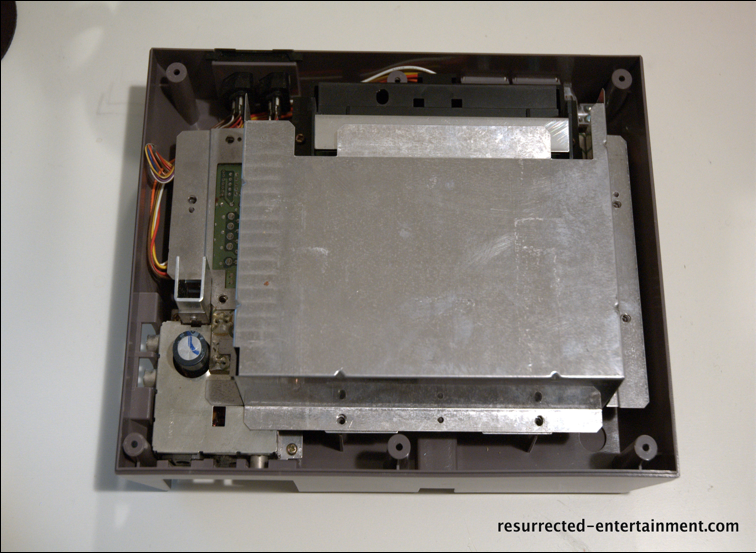
Remove it, and then remove the screws securing it to the base.
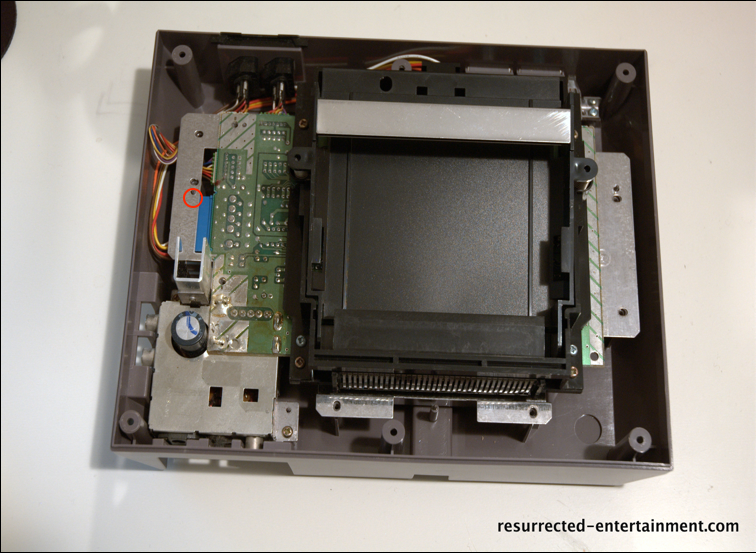
Flip the assembly over so that the expansion connector is face-up. You will see two cables which need to be detached to remove the second interference shield. Be gentle when removing the cables and don’t pull the connectors out by the wires; the large plug pulled out easily by simply using my fingers, the smaller cable looks like the connector is snapped into place, but it’s simply a friction mount and can be removed with needle nose pliers by gently pulling and rocking the connector.
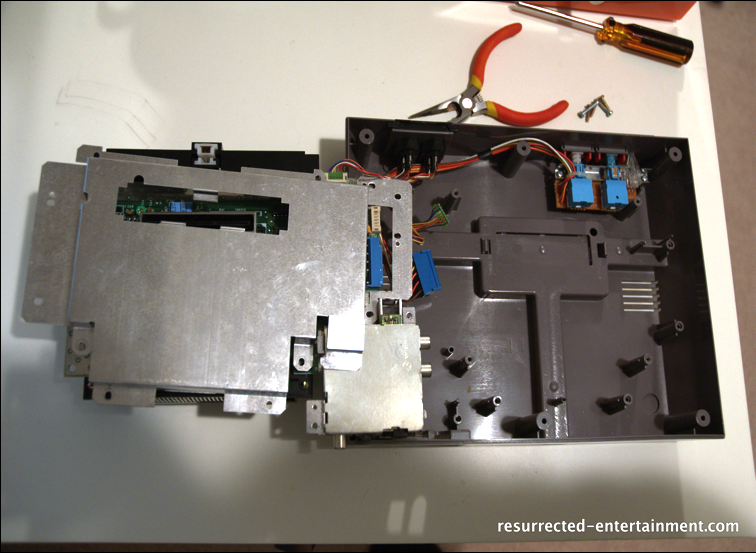
Once the shield if removed, you will see the main board and all of its components; stop and admire the beauty of this machine and smell the history. Ahhh. Now, flip the board back over and remove the last two screws for the cartridge harness. The harness slides under the cartridge slot and should be gently removed as components on the other side of the board may be damaged by your fingers if you are not careful.
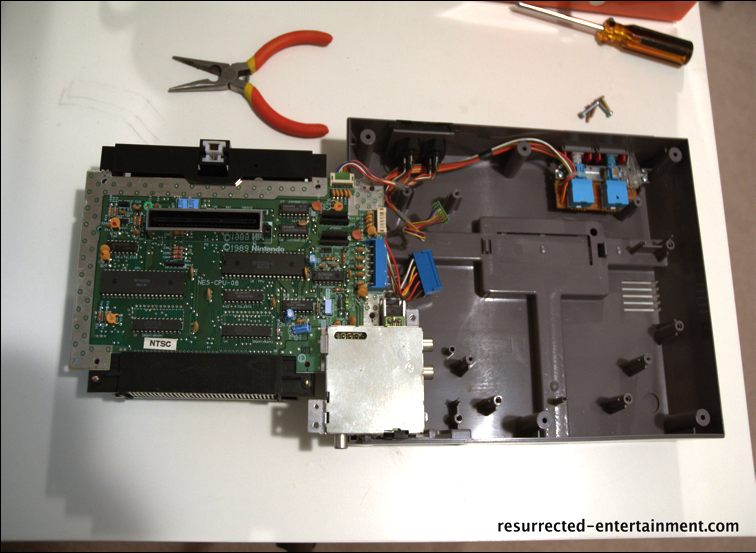
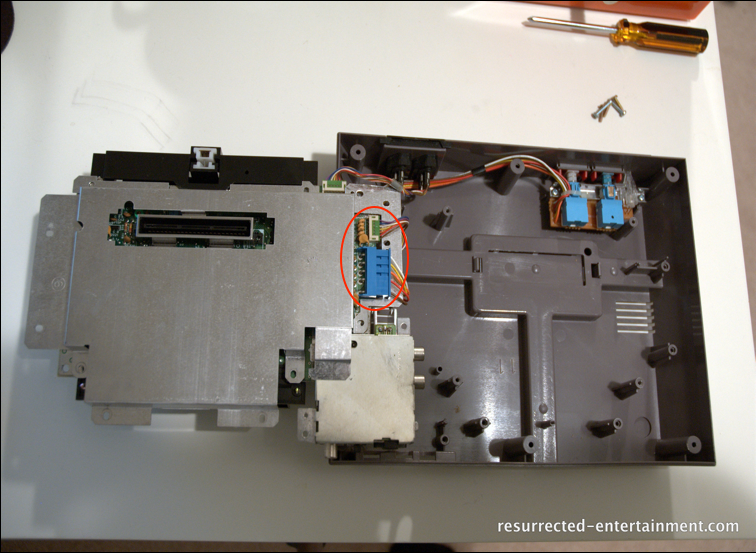
Reorient the board as shown and locate the connector pins.
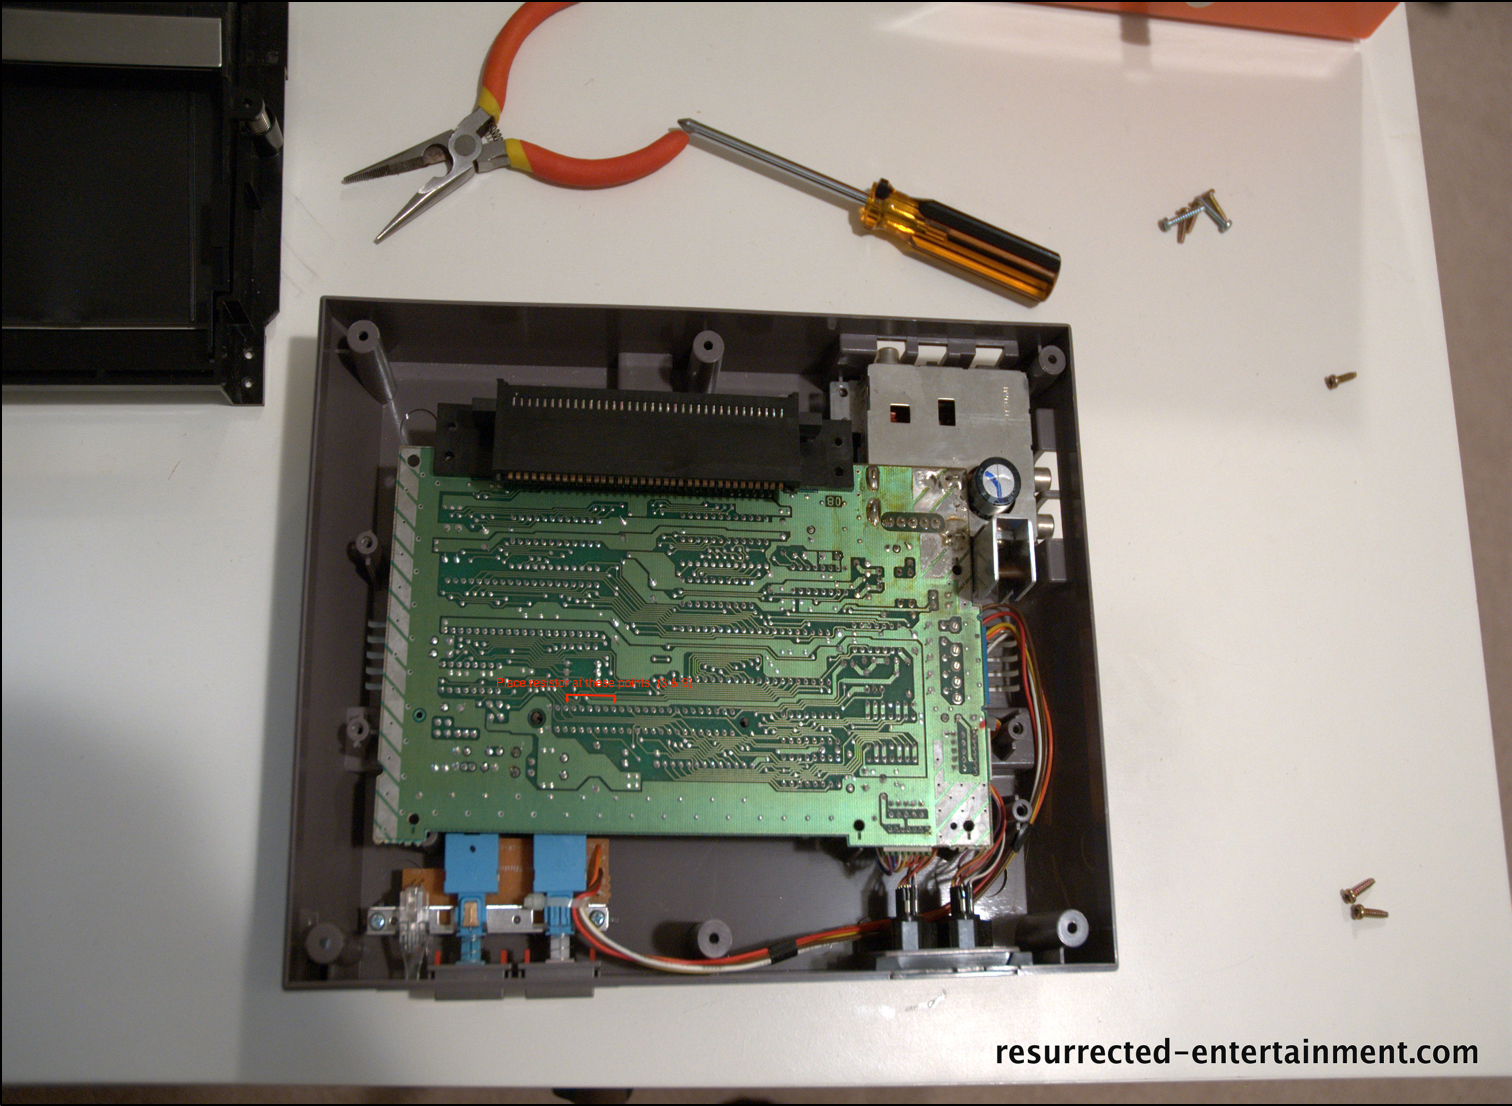
Carefully solder the 47-ohm resistor to pins 3 and 9 of the expansion bus, reassemble and you’re done.


